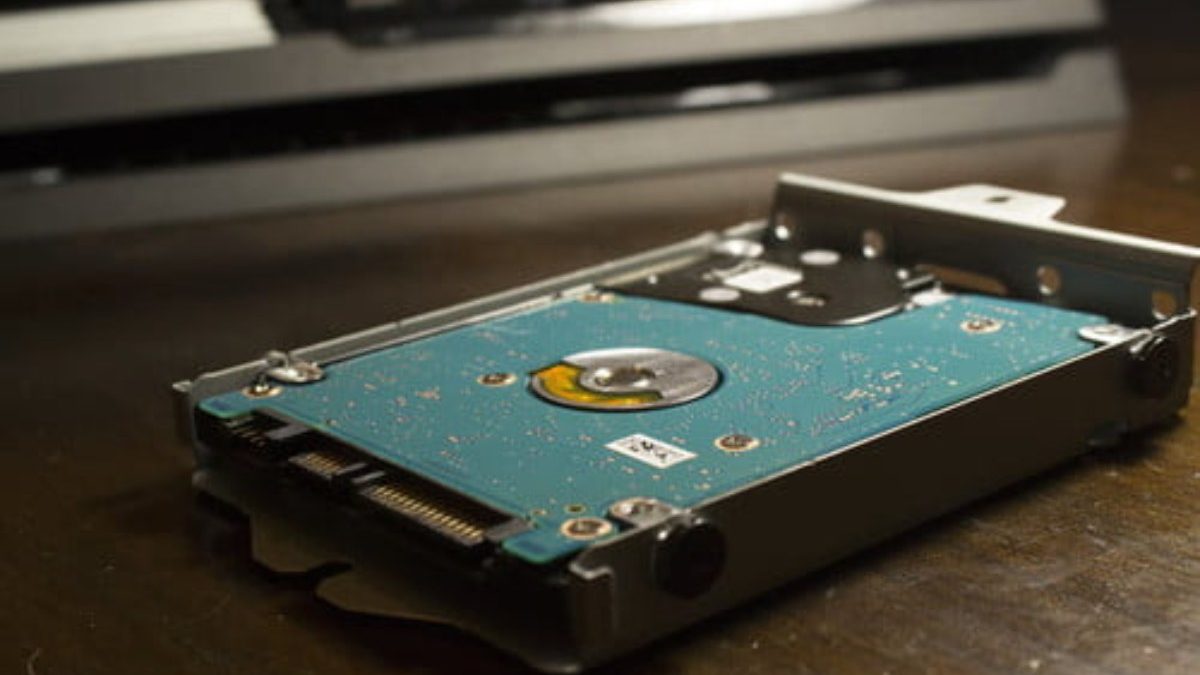
PS4 hard drive: Sony allows PlayStation 4 to replace the hard drive with a larger model. We will show you how.
Sony’s PlayStation 4 is the most popular console of the current generation. This is not surprising as it offers a vast cross-platform and an enormous selection of games with unique titles. Unfortunately, the term “gigantic” applies even more to games: modern games sometimes take up tens of gigabytes on a hard drive, even when installed from a Blu-ray Disc.
Games that you buy and install entirely digitally through the PlayStation Network often take up even more space. A striking negative example is the current blockbuster Red Dead Redemption 2, which consumes almost 100 gigabytes on the PS4’s internal drive. This memory quickly becomes scarce, especially with older PS4 models, offering only 500 gigabytes of capacity. But even the most expensive high-end model,
But don’t worry: expanding the PS4’s internal storage is very easy. Sony officially allows you to install a large plate on the PS4 without losing the warranty. It works with all 2.5 inch hard drives up to 9.5 millimeters in height. Models with a capacity of 2 terabytes can double or quadruple the available disk space.
Table of Contents
Before conversion: perform a software update and PS4 backup
Before replacing a PS4 hard drive, there are a few things you need to prepare. If you haven’t already, the first step is to install the latest system software for the console. This ensures that there are no downsides when restoring to the latest version.
Open the “Update System Software” item in the console settings and follow the steps to update your PS4. If you already have games installed on your PS4, you should make a backup before replacing the hard drive.
You have the option of saving only your saved games or the complete installation. For the previous ones, a USB stick with a capacity of 4 gigabytes was generally sufficient. For a full PS4 backup, you will need an external hard drive to connect to the console via USB.
Open PS4 settings and go to “System”> “Backup & Restore”. Select the menu item “PS4” here and follow the instructions. In the “Applications” submenu, you can decide which installed game installations should be included in the save.
By the way: if you have a PlayStation Plus subscription, you can also save your games on Sony servers. In this case, you can restore the saved games from Internet backup later.
New PS4 Hard Drive: Conversion
The actual installation of the new hard drive on the PS4 is straightforward. You have to open the console and replace the current campaign. Important: Before replacing the hard drive, you must turn off the console entirely and disconnect it from the power supply. To do this, hold down the PS button on the DualShock 4 controller and select “Power”> “Turn off PS4” from the menu. You can only continue switching when the console LED is completely off.
How the change is made depends on the revision of your PS4. Fortunately, you do not need any tools for conversion other than the standard Philips screwdriver. Sony provides illustrated instructions on its homepage to open your PlayStation 4 and replace the hard drive. Now all you have to do is decide on a revision of your PS4.
Remove the old hard drive from the installation cage and insert a new one. Then close the console again and proceed to the next step.
Restart the PlayStation 4
As the new hard drive is now free, you will need to reinstall the PS4 operating system. To do this, you need a PC or Mac with Internet access and a USB key formatted in FAT32. Visit Sony’s download page at https://www.playstation.com/en-us/get-help/ps4-system-software/ Download the current version of the PS4 system software here via “Download Update day.” Now create a folder called “PS4” on the USB stick. In it, you will create a subfolder named “Update,” in which you can now copy the file “PS4UPDATE.PUP”.
Connect the prepared key to your PS4. It will help you if you have now booted the PS4 into recovery mode. For that, proceed as follows:
- Turn off the PS4 system.
- Press and grip the power button on the PS4. Do not leave until you hear two beeps. The first beep sounds when you press for the first time and the remaining seven seconds.
- Connect the DualShock 4 controller using the USB cable and press the PS button on the controller.
You are now in recovery or safety mode. Select item 7 “Start PS4 (Reinstall System Software)”. The console will now completely reinstall the PS4 operating system and format the hard drive in the process. Once the process is complete, restart the PS4.
After conversion: Restore data
After changing and restarting, setting up PS4, and signing in if available with your PSN account, you can now install games on your new hard drive and enjoy extra space.
If you made a backup before installing the new hard drive on your PlayStation 4, you could now restore it. To do this, connect the backup data media to the PS4. Then open Settings and go to “System”> “Backup and Restore” menu. At this point, open the “Restore PS4 System” submenu. Follow the instructions to restore game installations or saved games. If you have kept only what you have saved, you will need to reinstall the games.

